


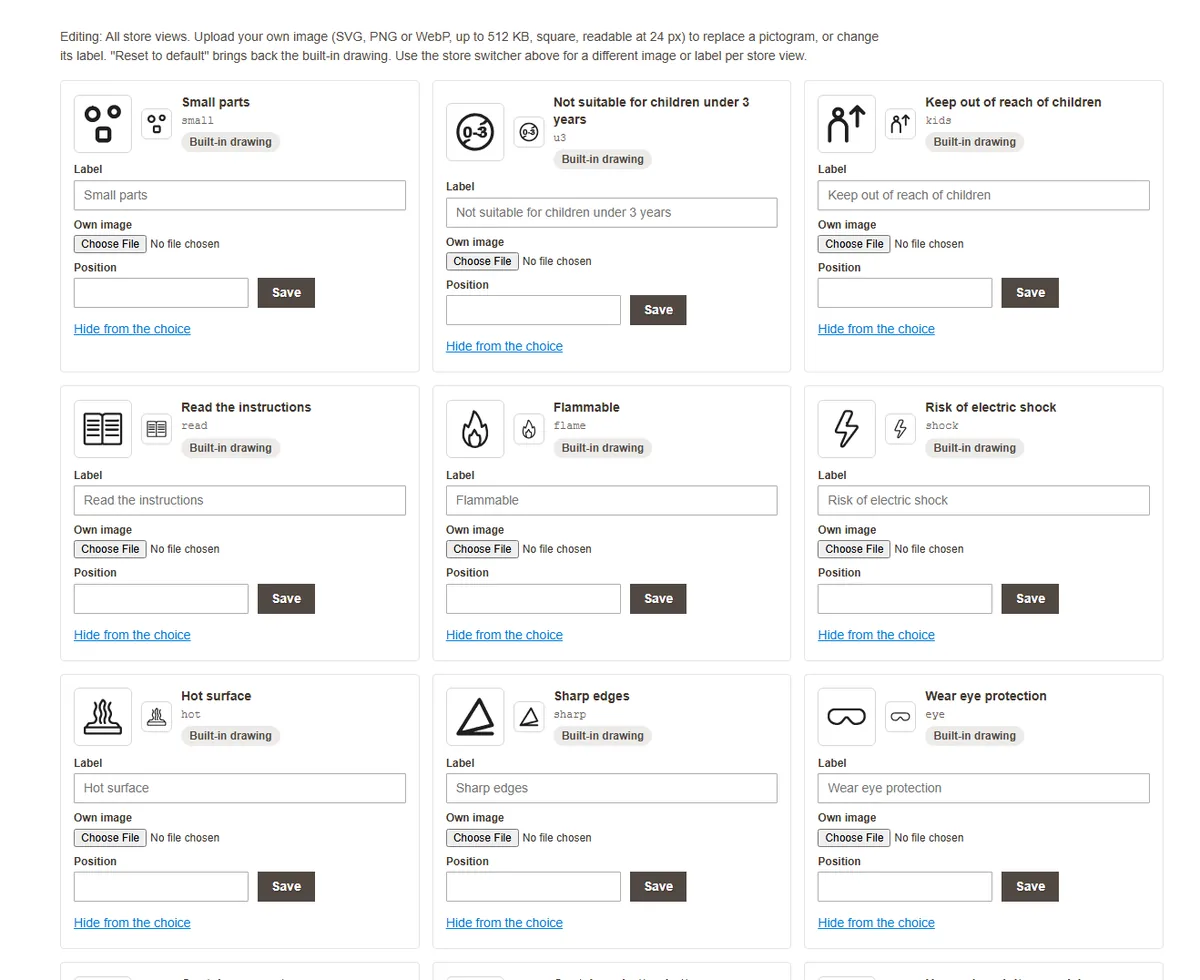
The module has 16 built-in pictograms: small parts, not suitable for children under 3, keep out of reach of children, read the instructions, flammable, electric shock, hot surface, sharp edges, eye protection, magnets, button battery, adult supervision, keep dry, do not use if damaged, plastic film and pressurised container. They are single-colour drawings that take the theme's colour and stay readable at 24 pixels.
1. Pictograms on a product
You choose pictograms in an assignment (Catalog › GPSR › Assignments) or on the product in the GPSR group. The pictograms of all levels add up.

2. Replace the image or the label
Catalog › GPSR › Pictograms
Choose the store view at the top. All store views applies everywhere, a single store view only to itself (for example a different label in the English store).
Enter a Label or choose an SVG, PNG or WebP file under Own image (up to 512 KB, square, readable at 24 px). Click Save.
Reset to default removes the own image and label of that store view. The store view then shows the value for all store views or the built-in drawing.

The module cleans SVG files before saving them (removes scripts and external references) and checks PNG and WebP images by their content.
3. Your own pictograms
At the end of the page is the card Add an own pictogram: enter a label, choose an image and optionally a code (lower case letters, digits, hyphen). You then choose your own pictogram in an assignment or on a product just like the built-in ones, and translate its label per store view.
4. Hide pictograms you do not use
In All store views each card has the link Hide from the choice. A hidden pictogram can no longer be chosen and is not shown. Your own pictograms can also be deleted; products that had one stop showing it.